Whether you’re hiking your favorite trail, lounging by the lake, or just chasing your dog around the backyard, your skin deserves a daily ritual that keeps up with your lifestyle. That’s why I created something special: Outdoor Vegan Body Butter—your new go-to for sunny day adventures.
This isn’t your average body butter. It’s lightweight, clean, and crafted for the outdoors. We took the richness your skin craves and blended it with nature’s best for a formula that hydrates, smooths, and supports your skin—without the heavy, greasy feel or synthetic ingredients.
☀️ Why Our Outdoor Body Butter Stands Out
Outdoor-ready hydration – Smooth and soothing, this formula helps hold moisture on hot days and breezy ones alike.
Formulated for sunny days – Made with non-nano zinc oxide, and non-nano titanium dioxide, both mineral ingredients often used for gentle sun support (without chemical filters).
Non-greasy and fast-absorbing – No sticky finish, just soft, happy skin.
Made for daily wear – Lightweight enough for arms, legs, shoulders, or wherever you need it.
Gentle on sensitive skin – No harsh additives or synthetic fragrances, ever.
You don’t have to sacrifice comfort to spend time in the sun. With the right body butter, you can treat your skin and enjoy the day.
🌱 What’s Inside (and What’s Not)
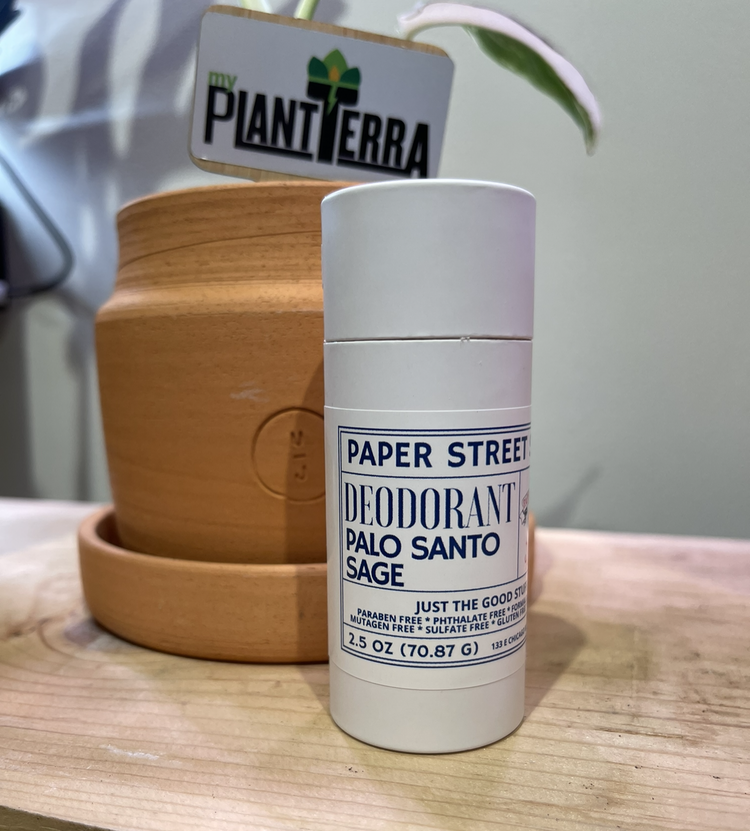
At Paper Street Soap, I believe in full ingredient transparency and clean, plant-based goodness. My Outdoor Vegan Body Butter features a thoughtful blend of:
Nourishing butters and oils like cocoa butter and sunflower oil to moisturize and soften
Non-nano zinc oxide & non-nano titanium dioxide to help support your skin while you’re outside
Candelilla wax (a vegan alternative to beeswax) for a smooth, water-friendly finish
No parabens, no silicones, and no animal by-products—just the pure, effective essentials your skin craves
🧴 How to Use It
Apply a small amount anywhere your skin sees the sun—arms, legs, shoulders, décolletage. It rubs in with minimal white film, and the rich texture quickly melts into your skin. Use it before walks, outdoor yoga, gardening, or any sunny outing.
How to Use: Apply generously to skin 15 minutes before sun exposure. Reapply every 80 minutes when swimming or sweating, or every 2 hours for continuous protection.
A little goes a long way, so your jar will last you through the season.
⏳ Limited Pre-Sale: Be the First to Try It!
To celebrate the launch of my Outdoor Vegan Body Butter, I’m offering an exclusive pre-order deal:
✨ The first 10 pre-orders are just $20
✨ After that, pre-orders are $22 until launch day
✨ Regular retail price will be $24 once it hits the shelf
👇Secure your jar and Pre-Order Now! 👇https://www.paperstreet.store/outdoor-face-and-body/outdoor-vegan-body-butter
This season, give your skin something it will thank you for. Natural. Nourishing. Made for the sunshine.
Love,
Paper Street Soap